

Important Notes - C SDKRequired Configuration ChangePlease also make this important configuration update in your project:
File: makefile.include
Change: Set MARSHALL_MSG_ARRAY_SIZE to 4
MARSHALL_MSG_ARRAY_SIZE = 4This ensures sufficient message buffer allocation for display control operations.• Do not modify any files in vpos (such as vmc_vend.c, vmc_link.c)• Using vmc_vend_event_on_ready ensures proper timing without arbitrary delays
Note:
- The device’s limitation is up to 12 objects per Layout.
- Use %c in the beginning of the label value to show a clock icon.
Display Control Related Commands
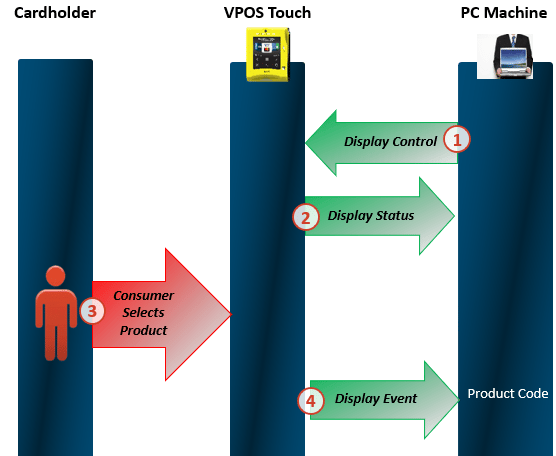
Updating the Screens
As can be seen in the PowerPoint above, once the Display Control command has been sent, the device would respond with a Display Status command, letting it know whether or not the device received said command and its validity.Starting a Transaction
Once a consumer has selected a product (screen) on the device, the device would respond with information the peripheral regarding which screen was selected, to which it should respond with a “Vend Request” with the relevant product code and price in order for the transaction process to begin.Possible Layouts- VPOST only (except for layouts 7,8 which are also relevant for Media)
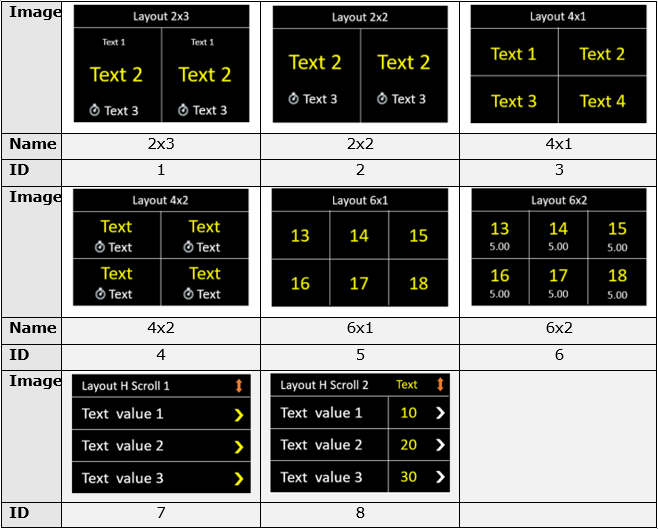
Layouts Relevant for VPOSM Only:
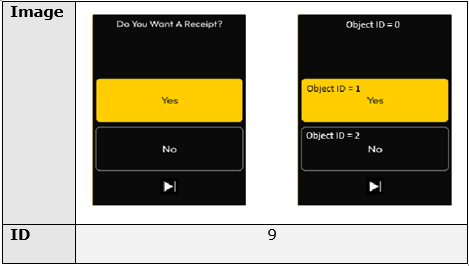
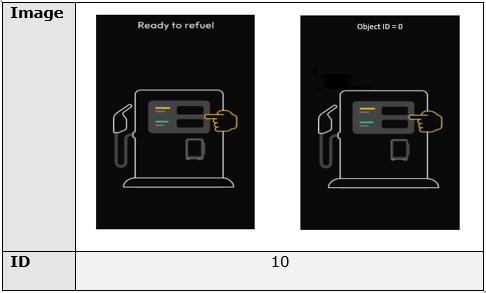
Layout Examples
Layout ID 1
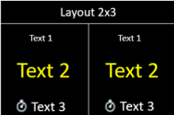
Layout ID 2
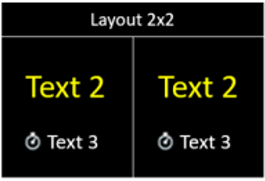
Layout ID 3
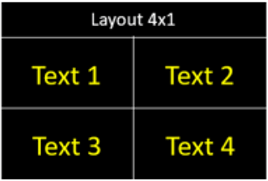
Layout ID 4
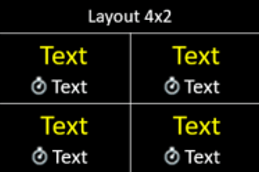
Layout ID 5
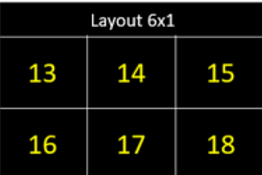
Layout ID 6
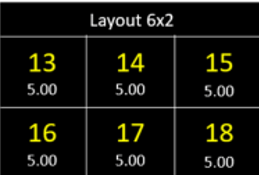
Layout ID 7
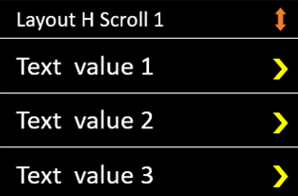
**Note: **You can have up to 6 values: values 4-6 would appear once you scroll down.
Layout ID 8
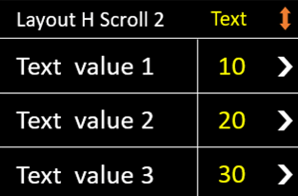
**Note: **You can have up to 6 values: values 4-6 would appear once you scroll down.
Layout ID 9- VPOSM only!
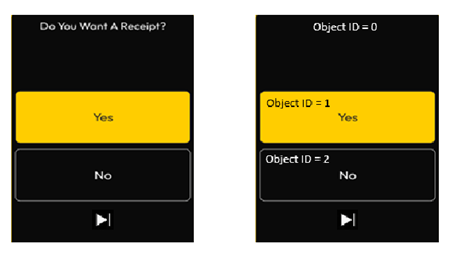
Layout ID 10- VPOSM Only
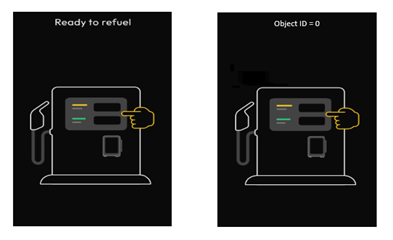
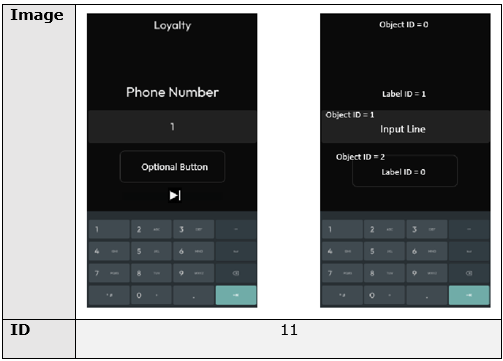
Layout ID 11- VPOSM Only
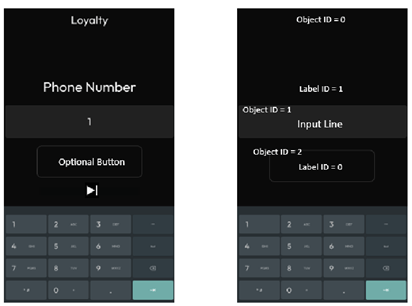
Nayax Core configurations
Important:This feature is supported only in “Always Idle” mode. This means that you need to have “Always Idle” configuration set up both on the device level (via Nayax Core) as well as have it be set to “true” on the peripheral level (via the SDK)You can see the flag’s location in the SDK Flagspage, under “Configurations flags”.
Updating the Screens via Nayax Core
A Nayax Core attribute has been introduced that allows operators to dynamically update text, prices, and configurations on selection screens- the screens that appear when the device is in idle mode, waiting for a consumer to select a product by selecting (touching) one of said screens. This attribute enables sending structured data from Nayax Core to the peripheral. This information is then processed and displayed on the Marshall selection screen. The attribute definition is as follows:
This sends a JSON-formatted string containing details about selection screens, including layout configurations, text labels, prices, and timing.
JSON Logic Recommendation
The JSON string should include necessary instructions for each selection screen. The format is flexible, allowing operators to specify only the required parameters. See the structure in the code block below:Example
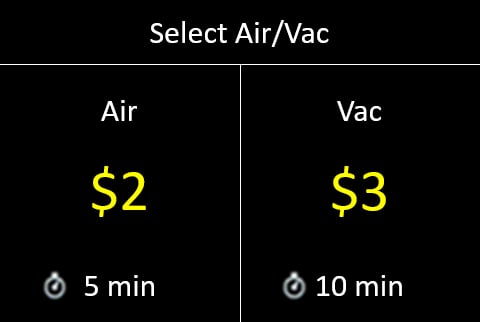
See the JSON below. It is sending the instructions to update the display of an Air Vac machine.Packet CreationPackets are created automatically by the SDK or Nayax Core.
Customize the Idle Screen and Transaction UI
Beyond the selection screens, a limited set of idle-state and transaction-state elements can be customized from the DCS back office. The list below is everything that is currently available. Select the pictures or animations shown while the device is idle. You can also add a custom image, such as your company logo.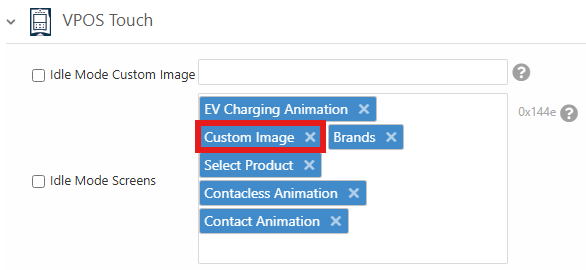
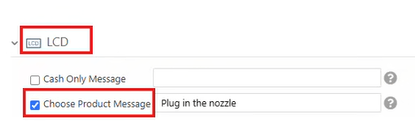
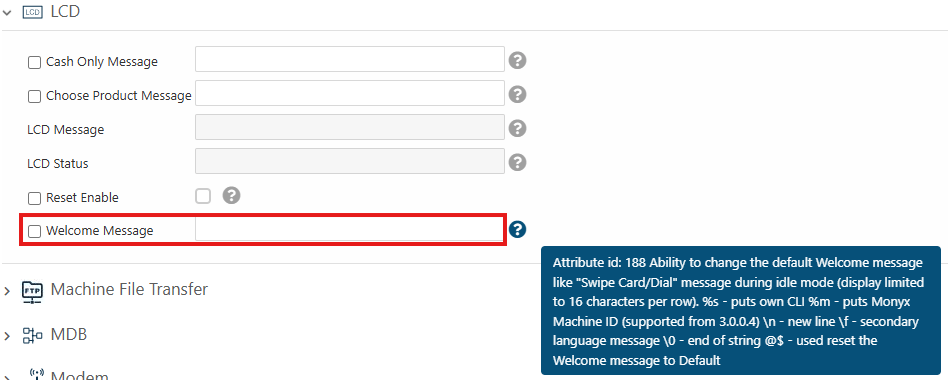
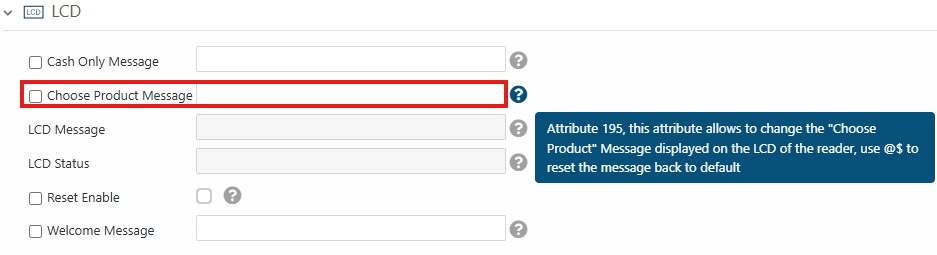
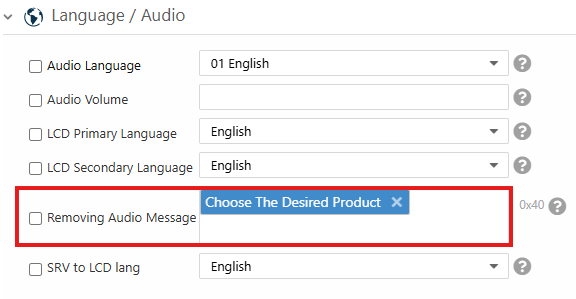
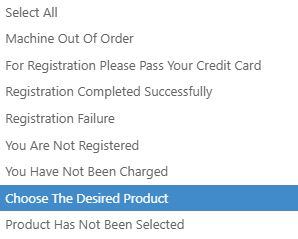
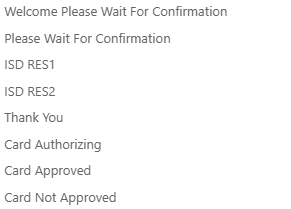
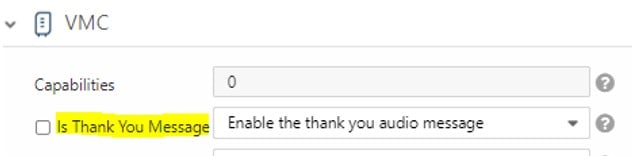
On VPOS Touch there is nothing to customize during the transaction itself: neither messages nor images and animations can be changed.
Change the Product Selection Animation
You can replace the product selection animation with the Smartfridge one. Send the following file to the device using Machine File.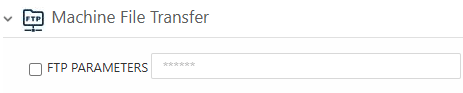
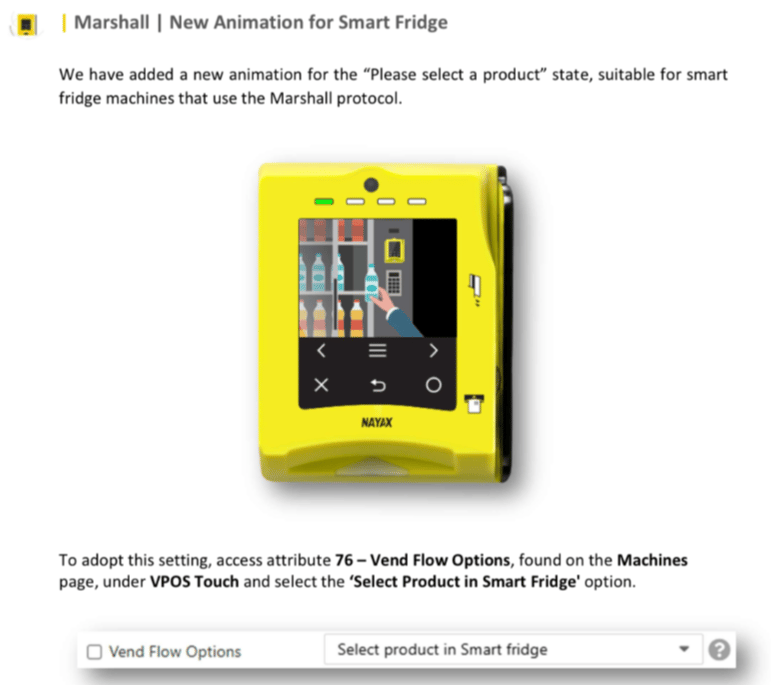
This feature is available from version 4.0.25.11 and above.